Automatically Crop Screenshots Using ImageMagick
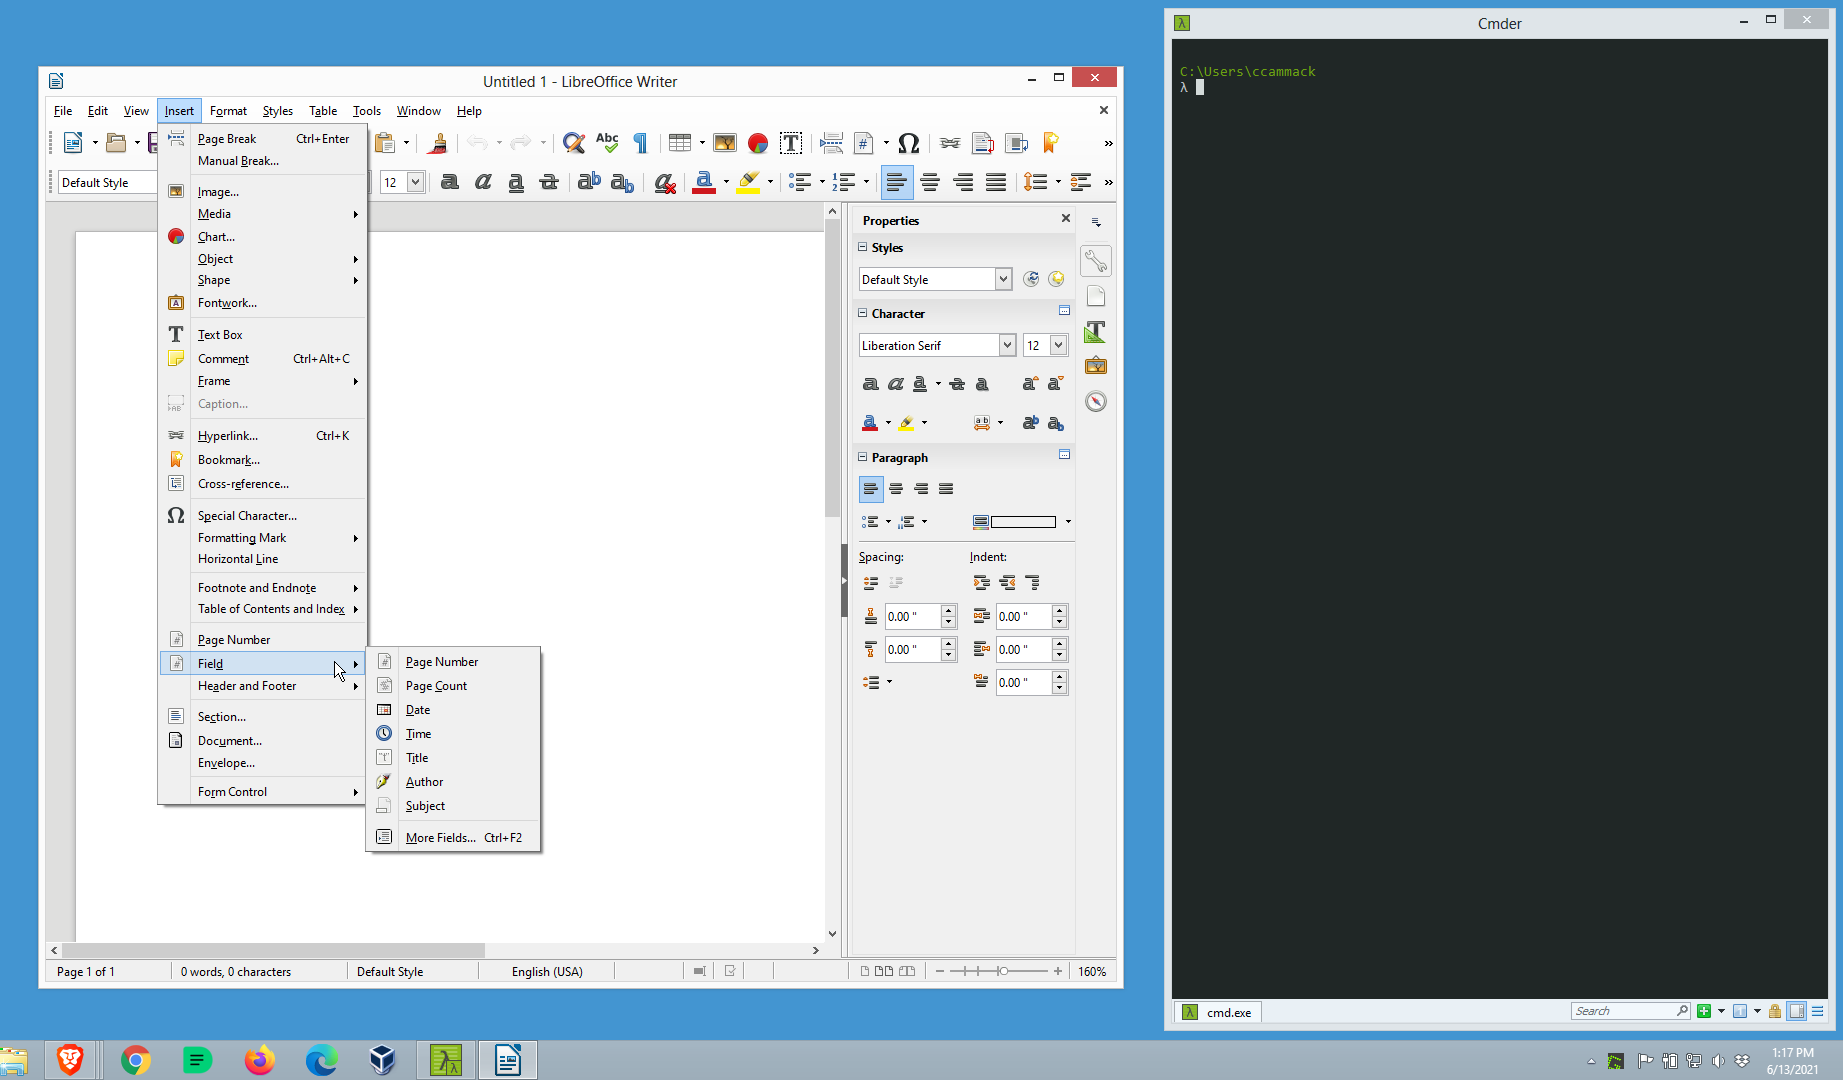
I don’t like editing images by hand, but occasionally find myself needing to cut down a full page screenshot to extract something of interest like a dialog box with an open menu.
As it turns out, as long as the desktop uses a consistent layout, it’s easy to write a reusable ImageMagick script to automatically crop full screen images down to size.
In my own case, the desktop normally has a column of icons down the left side and an open console window on the right. If I need to capture an object, I move it to the middle of the screen before taking the screenshot, leaving some empty space around the outside edges.

C:\Users\ccammack\Desktop
λ magick --version
Version: ImageMagick 7.0.10-29 Q16 x64 2020-09-05 http://www.imagemagick.org
Copyright: Copyright (C) 1999-2018 ImageMagick Studio LLC
License: http://www.imagemagick.org/script/license.php
Visual C++: 192729111
Features: Cipher DPC HDRI Modules OpenCL OpenMP(2.0)
Delegates (built-in): bzlib cairo flif freetype gslib heic jng jp2 jpeg lcms lqr lzma openexr pangocairo png ps raw rsvg tiff webp xml zlib
To figure out the right amount to crop from each side for this desktop layout, run some tests using magick convert on the full screen input image and specify the show: parameter to immediately view the results of each command in the ImageMagick viewer.
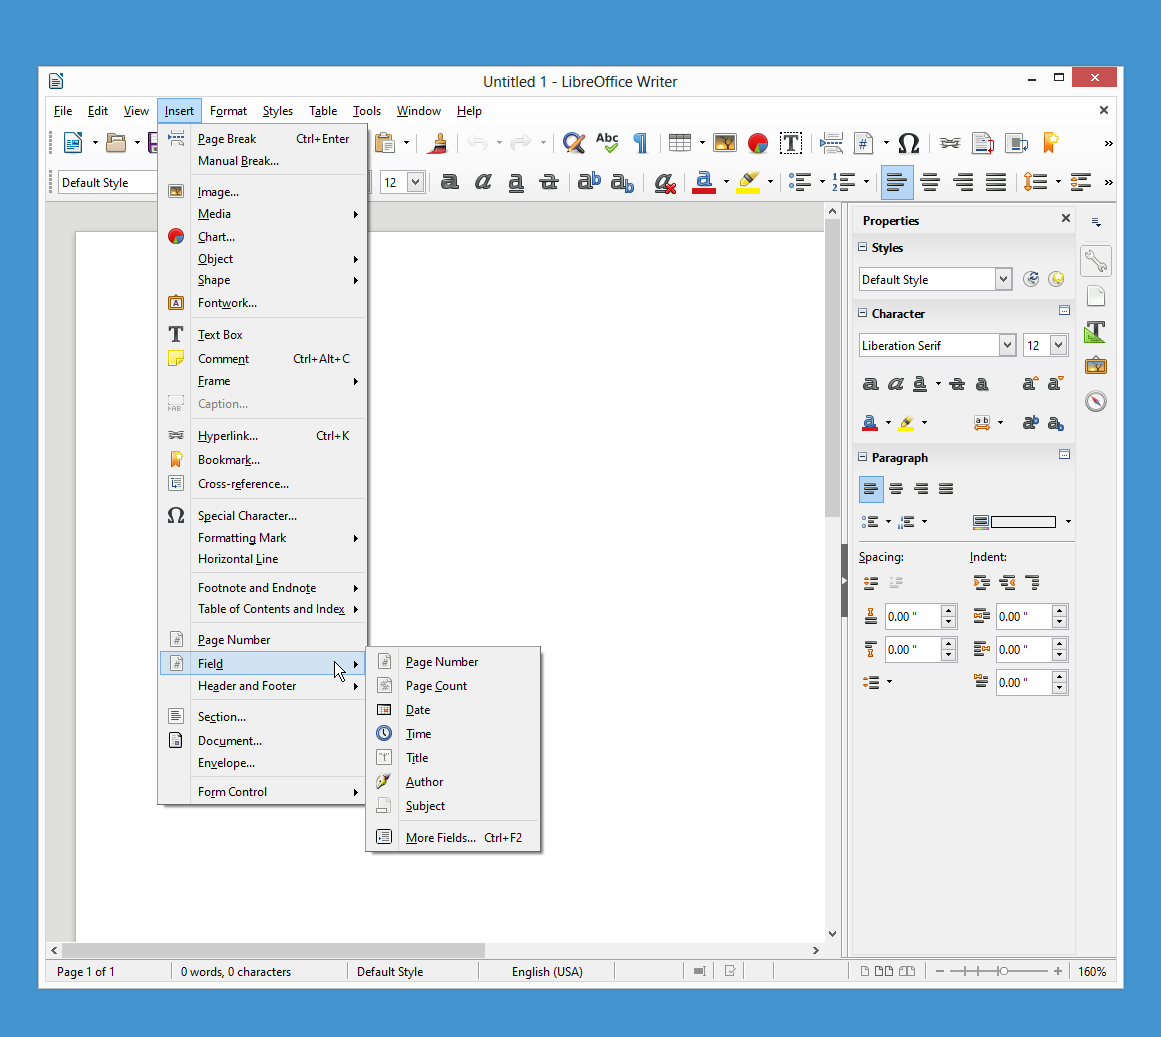
For example, to remove the left side of the image, set the reference origin to the upper-left corner using -gravity northwest and then specify -chop 4%x0% to remove 4% from the left and 0% from the top. Experiment with the chop percentages to find the right amount for the desktop layout.
C:\Users\ccammack\Desktop
λ magick convert input.png -gravity northwest -chop 4%x0% show:
Similarly, to remove the bottom and right sides of the image, set the reference origin to the bottom-right corner using -gravity southeast and then specify -chop 37%x4% to remove an additional 37% from the right and 4% from the bottom.
C:\Users\ccammack\Desktop
λ magick convert input.png -gravity northwest -chop 4%x0% -gravity southeast -chop 37%x4% show:
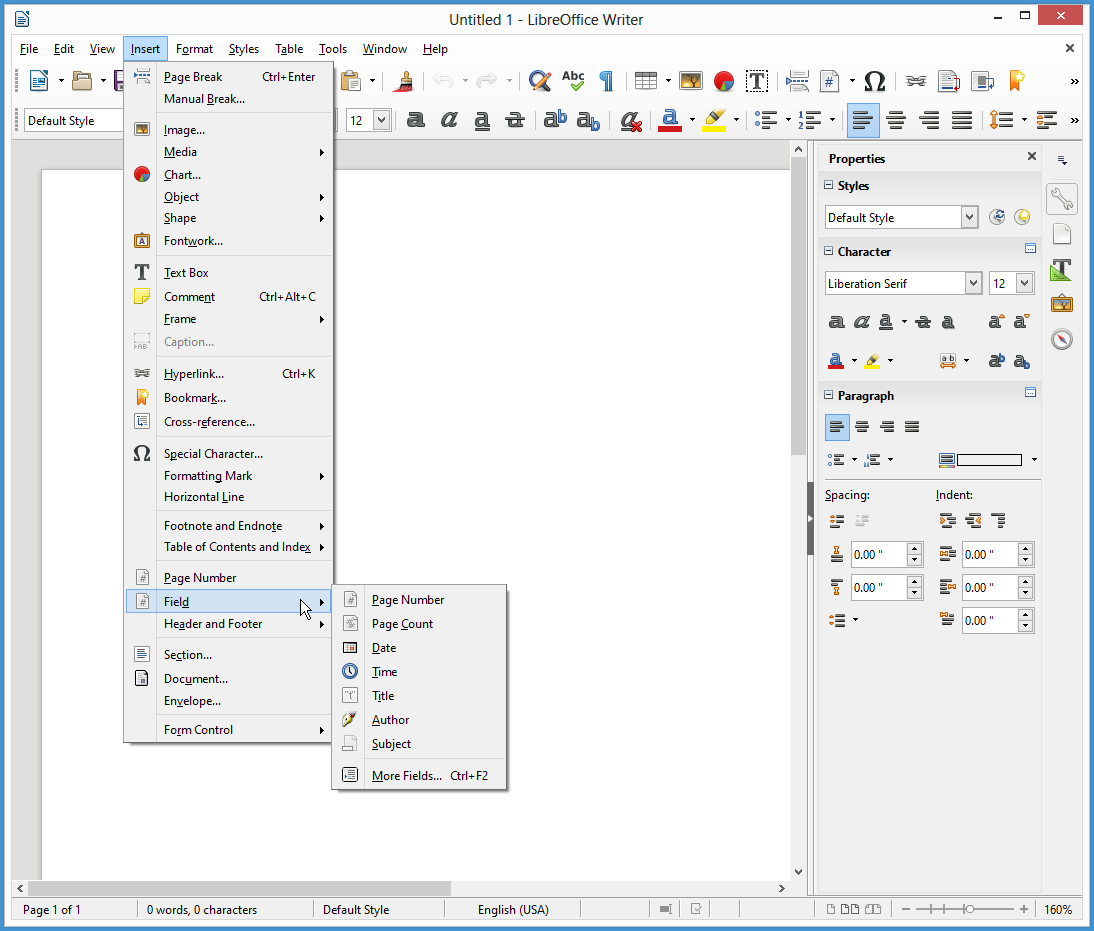
This leaves the solid blue desktop background around the outside of the image, which can be automatically removed by adding the -trim parameter to the end of the command.
C:\Users\ccammack\Desktop
λ magick convert input.png -gravity northwest -chop 4%x0% -gravity southeast -chop 37%x4% -trim show:
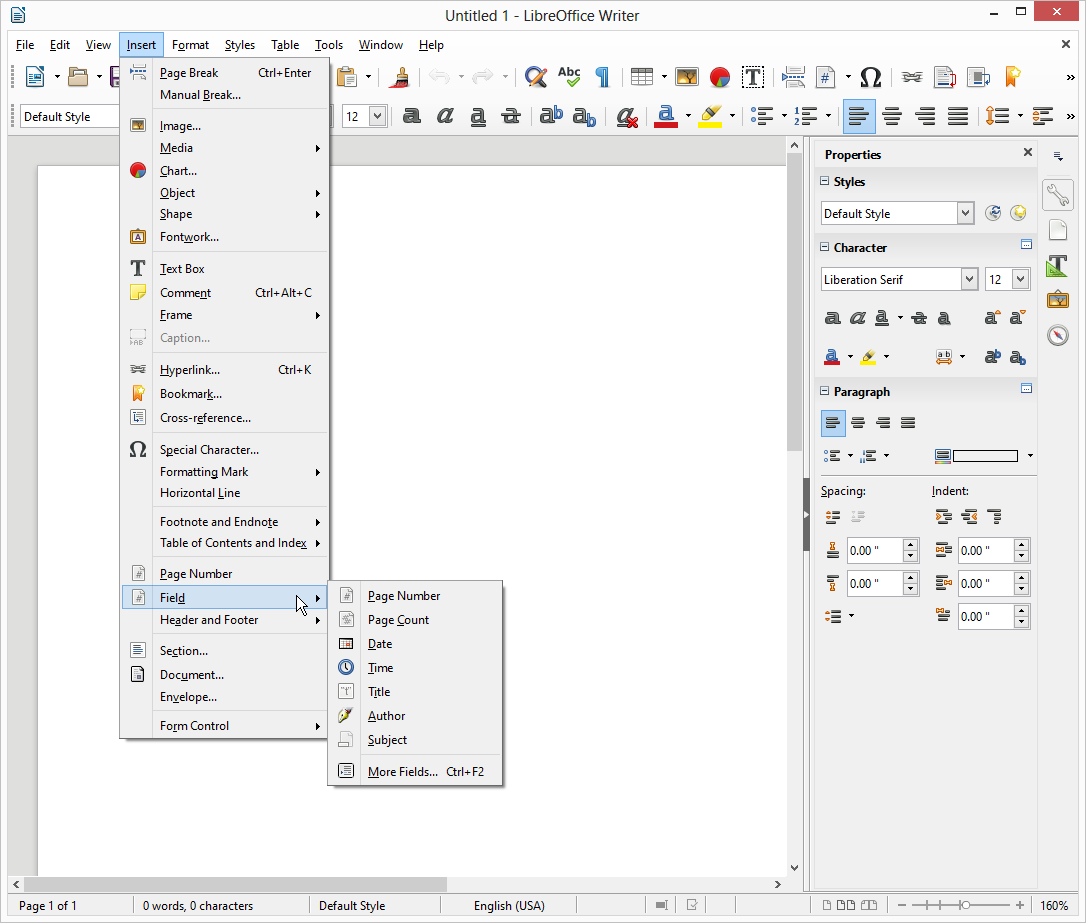
In my testing, the -trim parameter left a four pixel blue border around the image, so I removed it by adding -shave 4x4 to shave off the four remaining pixels from the horizontal and vertical edges, giving the final result as shown.
C:\Users\ccammack\Desktop
λ magick convert input.png -gravity northwest -chop 4%x0% -gravity southeast -chop 37%x4% -trim -shave 4x4 show:
Once the procedure works properly, wrap the command in a batch(+powershell) script so it can process multiple images with one call and can automatically generate the output filenames for the resulting files by appending the word cropped to each input filename.
<#  :cmd header for PowerShell script
@	rem https://stackoverflow.com/a/49122891
@   set dir=%~dp0
@   set ps1="%TMP%\%~n0-%RANDOM%-%RANDOM%-%RANDOM%-%RANDOM%.ps1"
@   copy /b /y "%~f0" %ps1% >nul
@   powershell -NoProfile -ExecutionPolicy Bypass -File %ps1% %*
@   del /f %ps1%
@   goto :eof
#>

foreach ($a in $args) {
	$output = ( (Get-Item $a).DirectoryName + "\" + (Get-Item $a).Basename + ".cropped" + (Get-Item $a).Extension )
	& magick convert $a -gravity northwest -chop 4%x0% -gravity southeast -chop 37%x4% -trim -shave 4x4 +repage $output
}
The resulting batch file works on the command line and can also serve as a drop target so images can be automatically cropped by dragging and dropping them onto the batch file.