Print Address Labels From a LibreOffice Spreadsheet (Mail Merge)
I only need to do this once a year, and every year I forget how. MailMerge in LibreOffice is somewhat fiddly and the recommended method seems to change from version to version. These instructions work with version 5.4.5.1.
-
Begin with a spreadsheet of addresses. My example file is called addresses.csv and contains columns for first, last, address, city, state and zip.
The exact structure of the spreadsheet doesn’t matter, but using fewer columns makes layout easier, so one could also use a single column for full name and a single column for city, state and zip if that makes more sense.

Sample address spreadsheet in LibreOffice Calc
-
Create a temporary folder to hold the working files, which can all be deleted afterwards. In my case, the folder is called temp and it was created on the desktop.
-
Close the original address spreadsheet if it’s currently open. Make a temporary working copy and name the copy using a single-character file name. I my case, I made a copy of addresses.csv, named it a.csv, and moved it into the temporary folder.
These steps lay out the address fields on a visual representaton of the label inside LibreOffice. Since file and field names can potentially be longer than the values they contain, using long names can overflow the available label area and confuse the layout. Use single-character names to ensure good results when laying out the label structure.
-
Open the temporary working copy (a.csv) of the address spreadsheet. Row 1 must be a header row that specifies names for each column, so add that row if needed. Again, use single-character names for the header row. In the example file, I have renamed the original columns to f, l, a, c, s and z. Also rename the spreadsheet tab (at the bottom) to a single-character name, such as a.
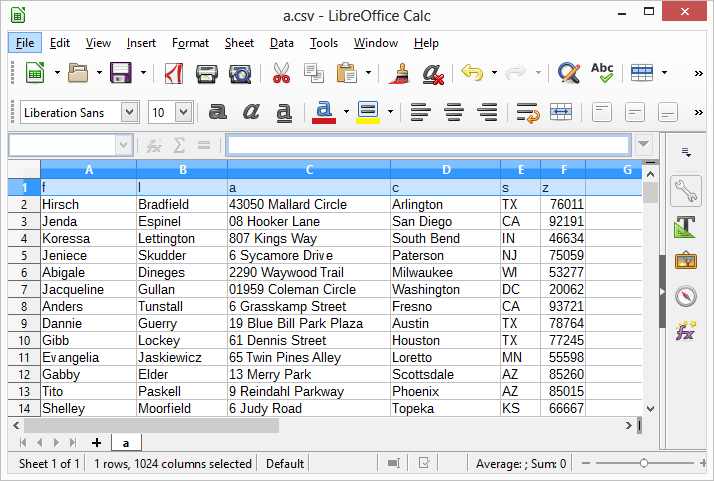
Working copy of the address spreadsheet with short names
-
Create a temporary database from the spreadsheet by selecting File>New>Database, then select Connect to an existing database, specify Spreadsheet in the dropdown and press the Next button.
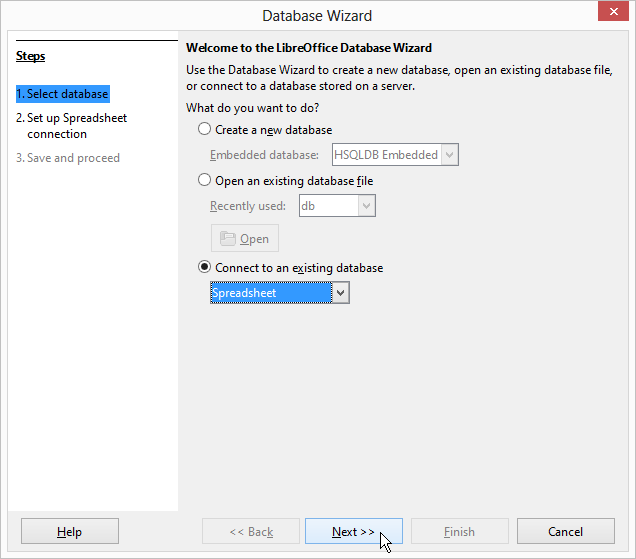
Database Wizard Step 1: Select database
-
Press the Browse button, select the working copy of the spreadsheet file (a.csv) and press the Next button.
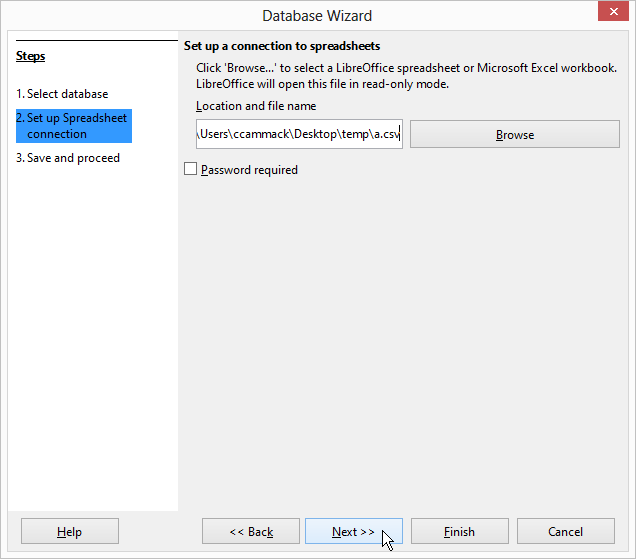
Database Wizard Step 2: Set up spreadsheet connection
-
Select Yes, register the database for me, then disable the checkbox that says Open the database for editing and press the Finish button.
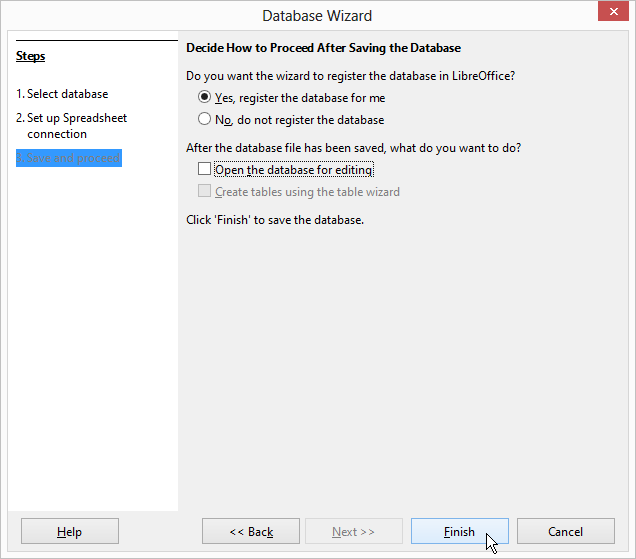
Database Wizard Step 3: Save and proceed
-
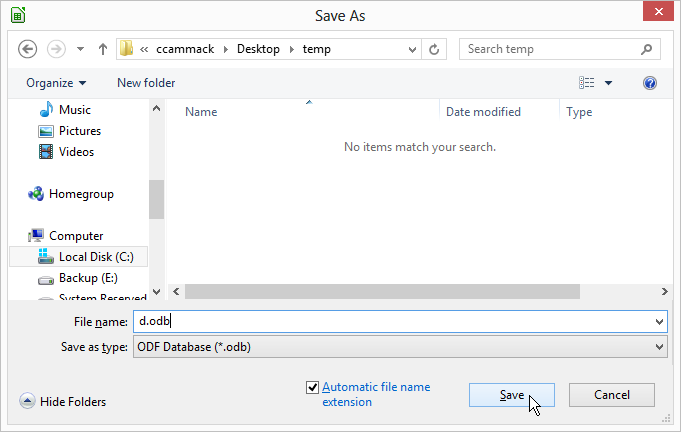
Save the new database file to the temporary folder. Again, use a short name such as d.odb for the file name.
-
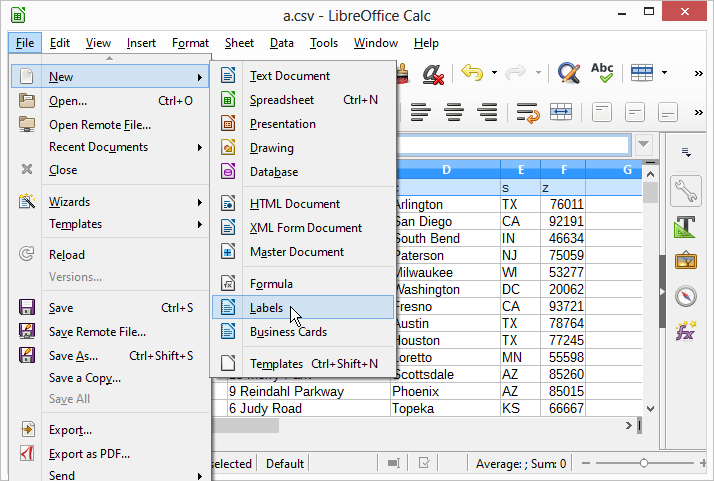
Select File>New>Labels to open the Labels dialog.
-
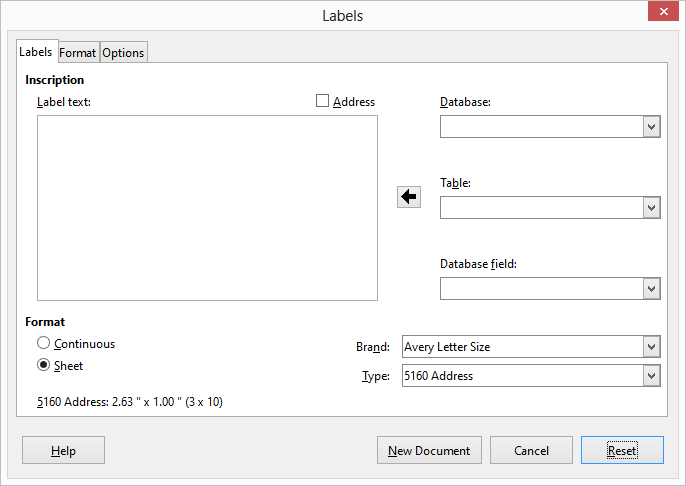
Select the Labels tab at the top of the dialog and set the Format, Brand and Type fields according to the label manufacturer’s recommendations.
-
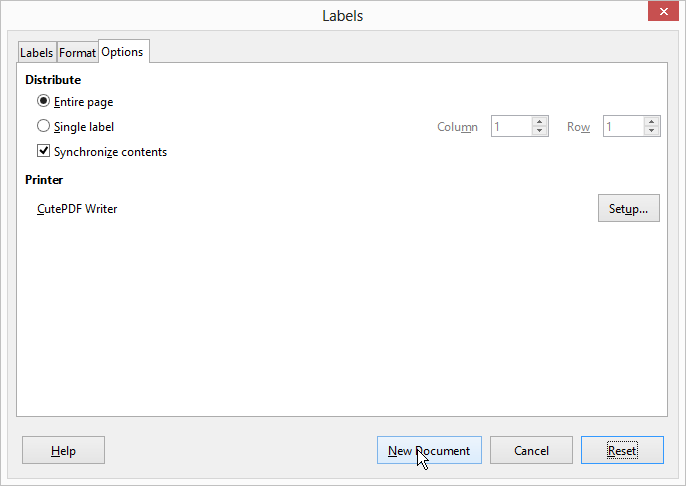
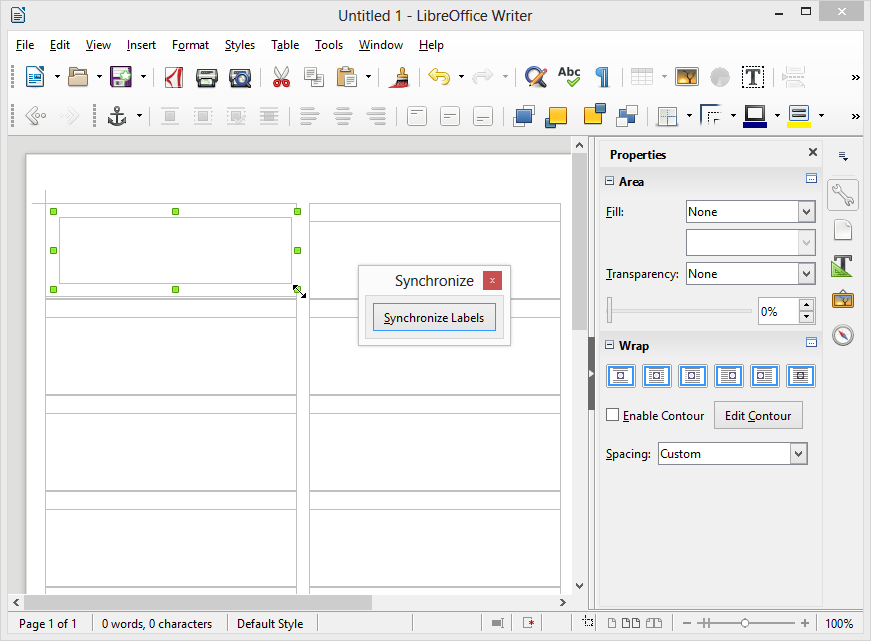
Select the Options tab at the top of the dialog, then enable the Synchronize contents checkbox and press the New Document button.
-
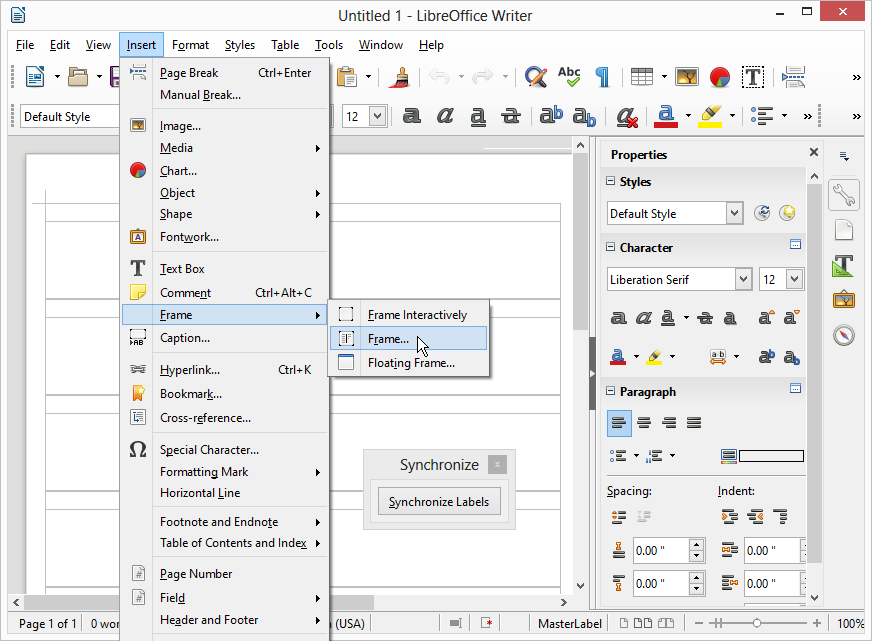
LibreOffice Writer will open a new Untitled document showing blank labels laid out on the page along with a floating Synchronize dialog. Drag the Synchronize dialog away from the top-left label to make some room if needed.

-
Click the top-left empty label to give it focus and select Insert>Frame>Frame… to open the Frame dialog.
-
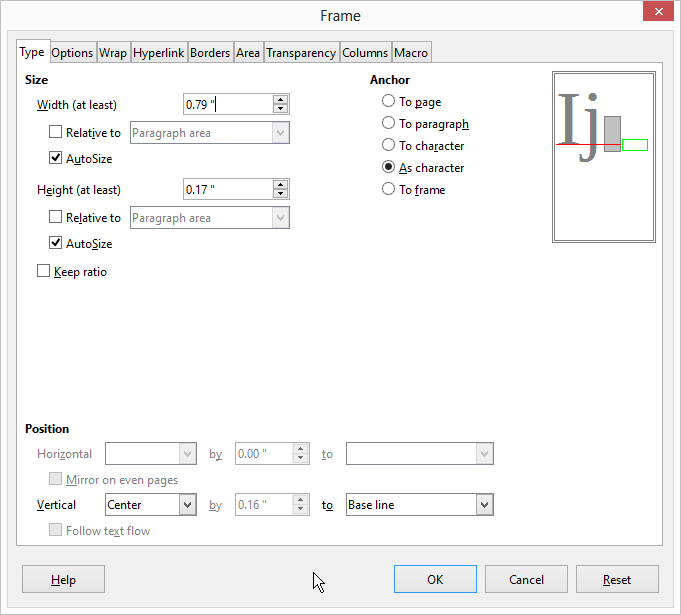
Select the Type tab at the top of the Frame dialog and adjust the settings:
- Enable both of the the AutoSize checkboxes for Width and Height
- Select As character for the Anchor setting
- Select Center for the Vertical position setting
-
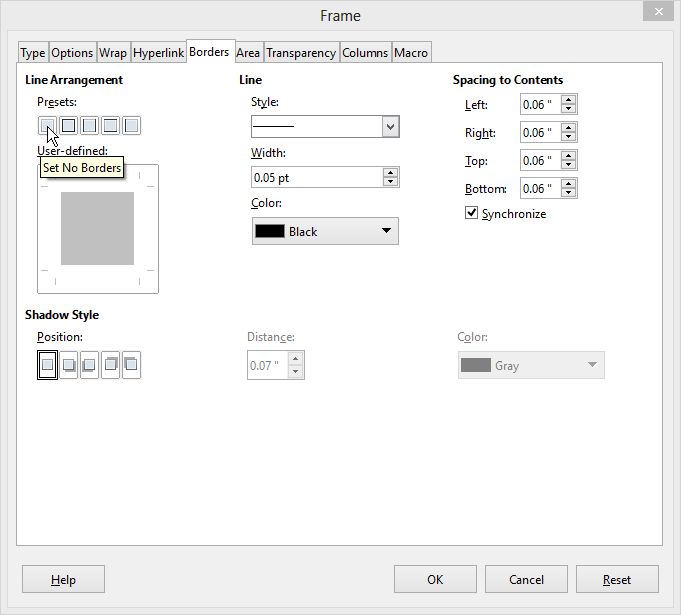
Select the Borders tab at the top of the Frame dialog and adjust the settings:
- Select the Set No Borders preset in the Line Arrangement setting
- Press the [OK] button to insert the new frame into the top-left label
-
Use the mouse to drag the new frame’s green handles and expand the frame until it is approximately the same size as the label.
-
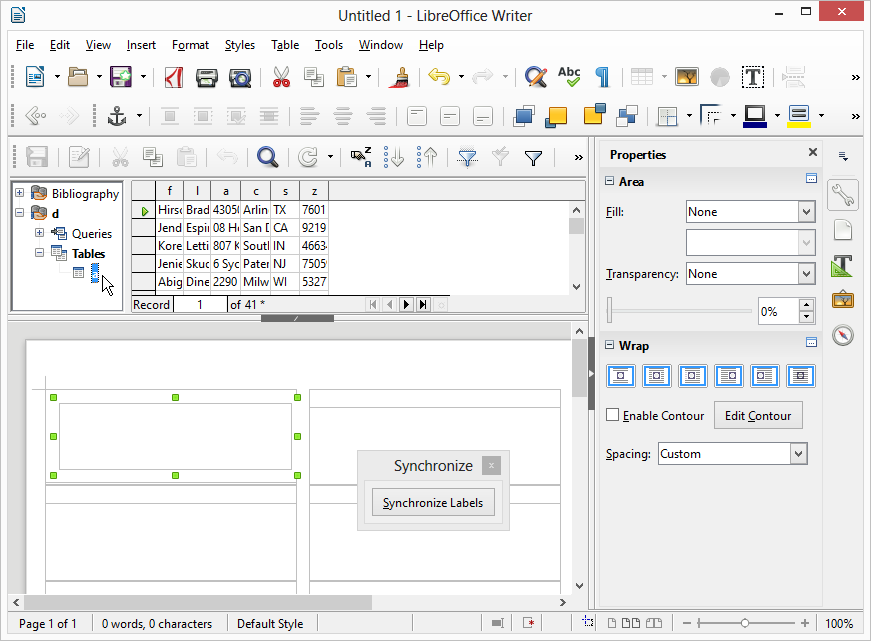
Select View>Data Sources and drill down the database tree to find the temporary address database created earlier.
-
One at a time, drag and drop the column headings from the Data Source down onto the top-left label. After dropping each one, click the mouse in the label area after the text to give it focus so you can insert spaces and punctuation. Press Enter to create new lines as needed to format the address label.
For example, to insert the first name onto the label:
- drag the f column down to the label and release the mouse button to drop it
- click the label after the text to give it focus
- press the Space bar to insert a space after the first name
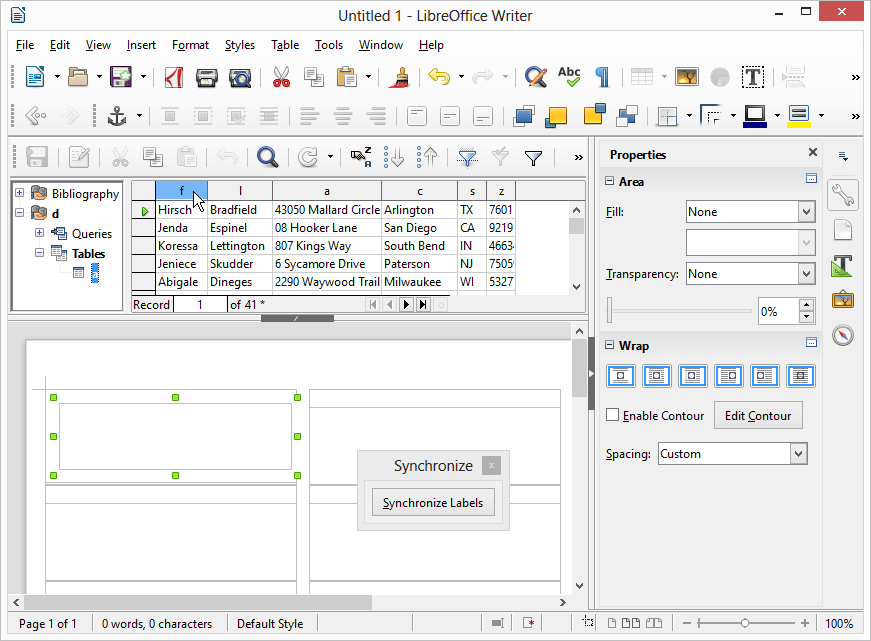
Drag the first name column from the data source down onto the label
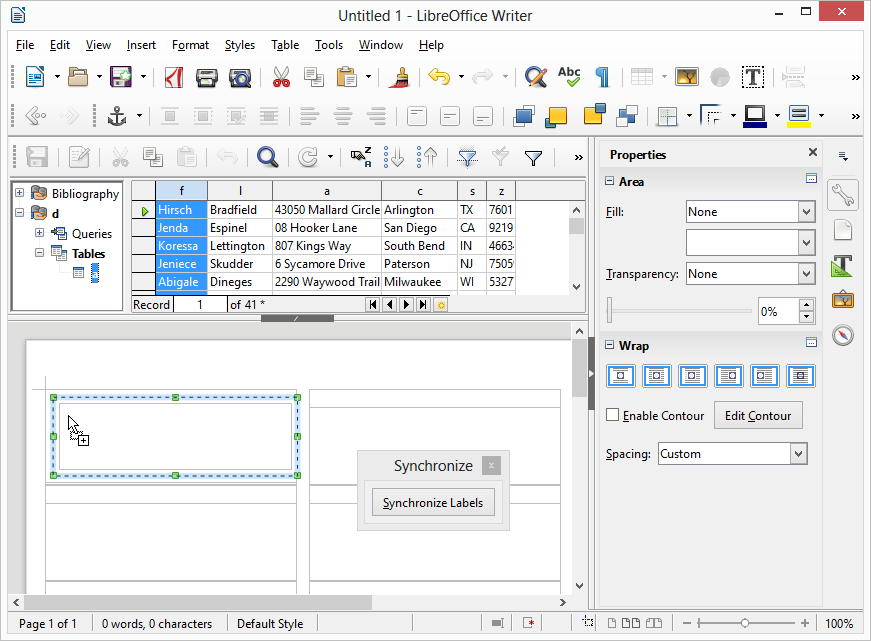
Drop the first name column onto the label
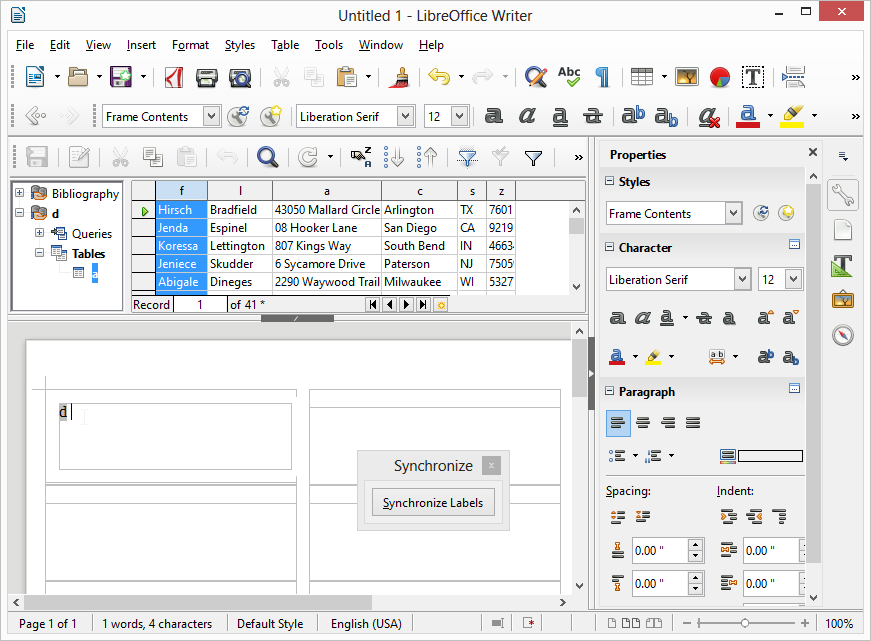
Click the label after the text to give it focus and add a space
-
Repeat this drag and drop process for each of the columns in the address database. LibreOffice will not display the name of each field, which in this case means that the label will contain a collection of placeholder d’s, but there are only a few fields in an address, so it’s not too hard to get right.
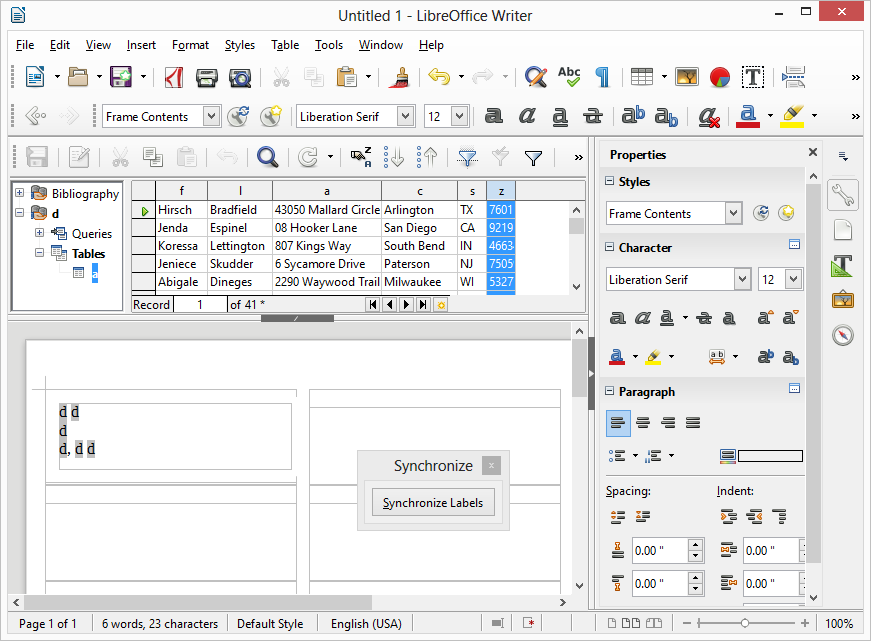
Data source placeholders with punctuation assigned to the top left label
-
After all of the database fields have been added to the label, again click the mouse at the end of the first label area to give it focus, then insert a NextRecord marker:
- Select Insert>Field>More Fields…
- Select the Database tab
- Select NextRecord as the Type
- Select the database (d) and sheet name (a) as the Database selection
- Press the Insert button to insert the value Next record:d.a
- Press the Close button to close the Fields dialog
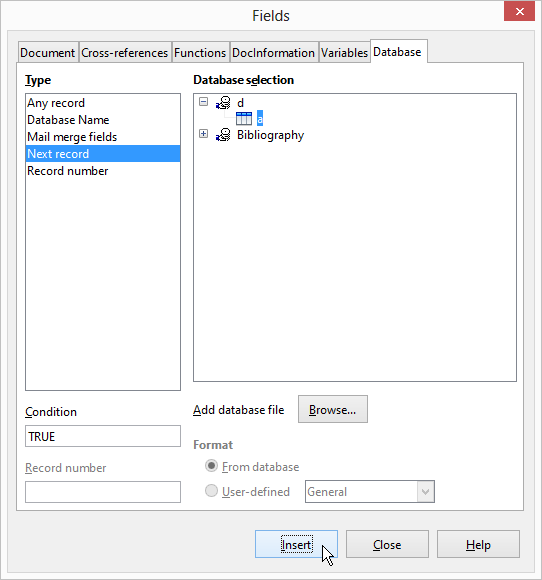
Insert a NextRecord field at the end of the label
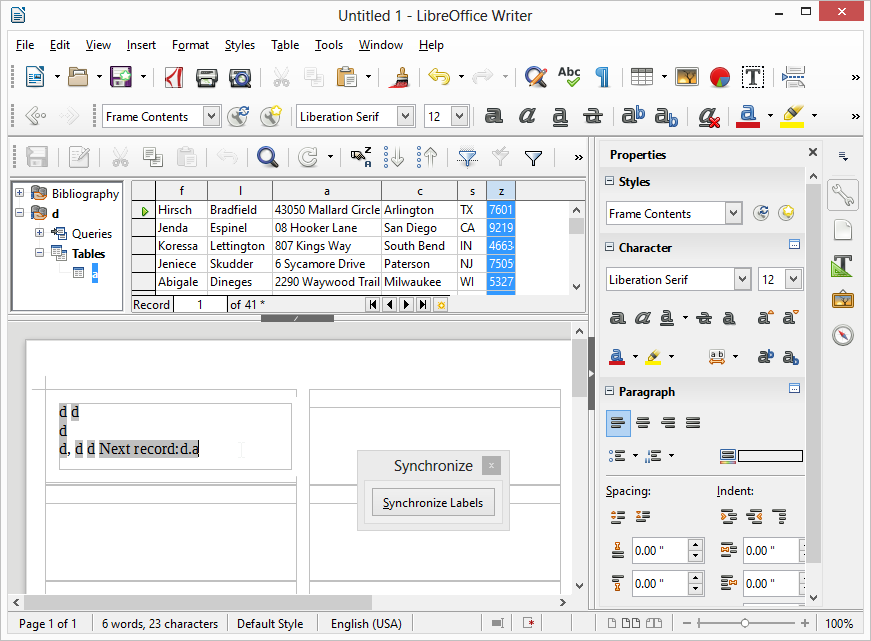
Completed label with placeholder fields and a NextRecord value at the end
-
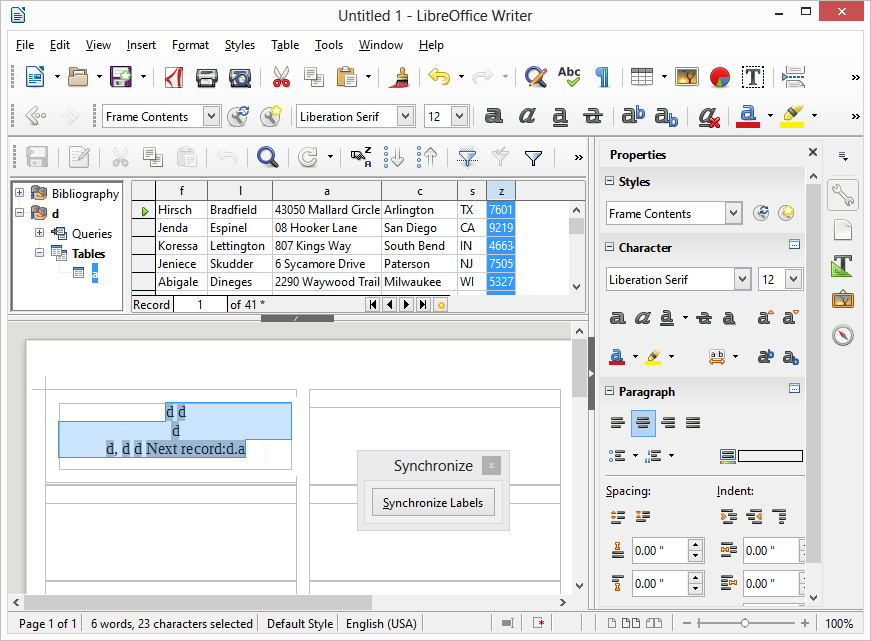
By default, the label text will be left-aligned, but I think it looks better centered, so click the mouse on the label to give it focus again, press Ctrl+A to select all of the label text, and press Ctrl+E to center it horizontally.
-
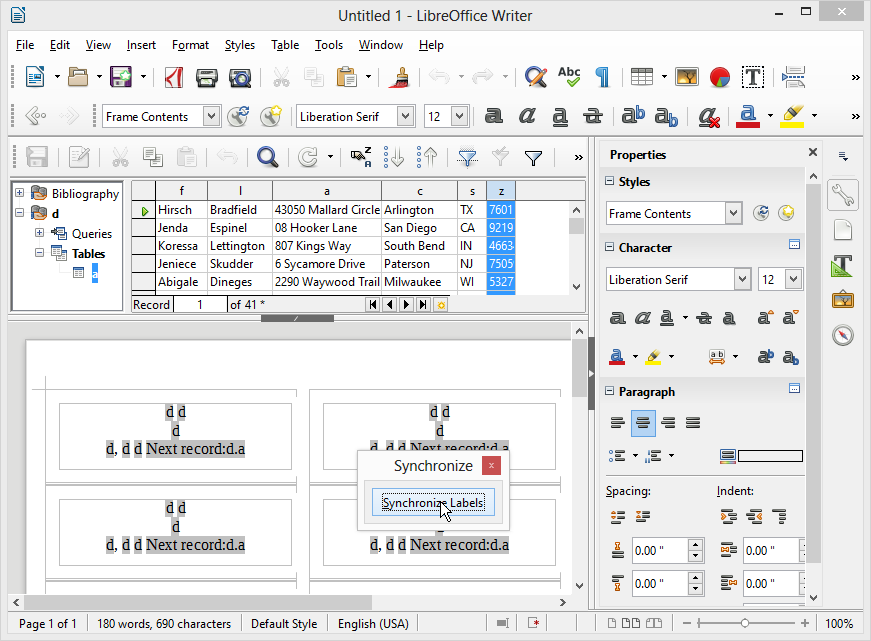
Press the Synchronize Labels button to copy the layout template from the first label to all of the other labels.
-
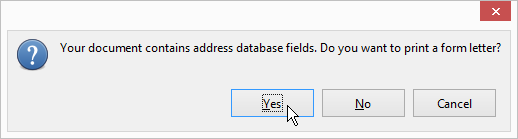
Select File>Print to print the labels. A warning dialog should appear to ask if you want to print a form letter? Press the Yes button to open the Mail Merge dialog.
-
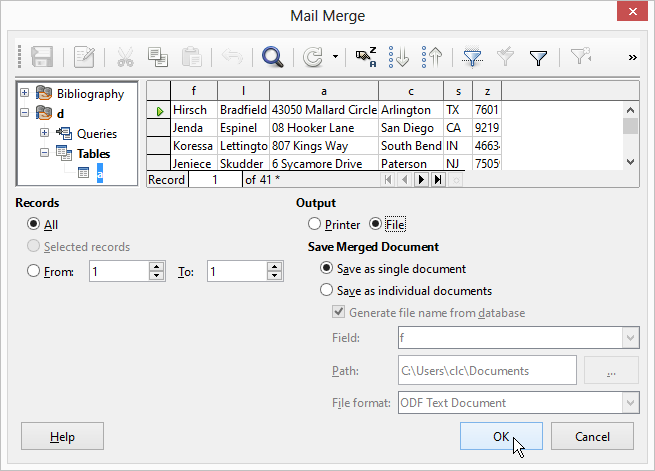
On the Mail Merge dialog
- Select All for Records
- Select File for Output
- Select Save as single document for Save merged document
- Press the OK button
-
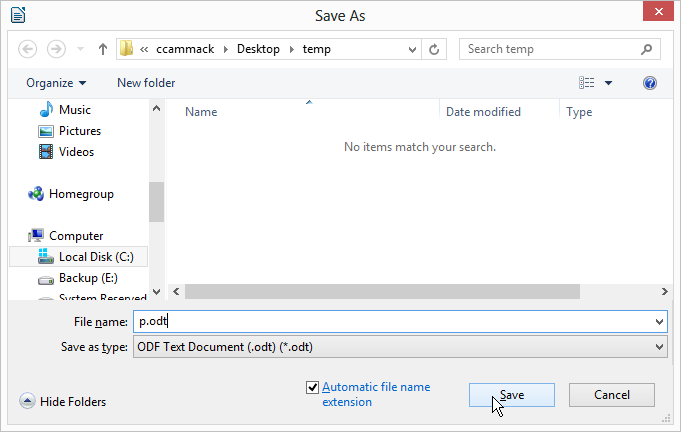
Save the label file to a temporary name such as p.odt.
-
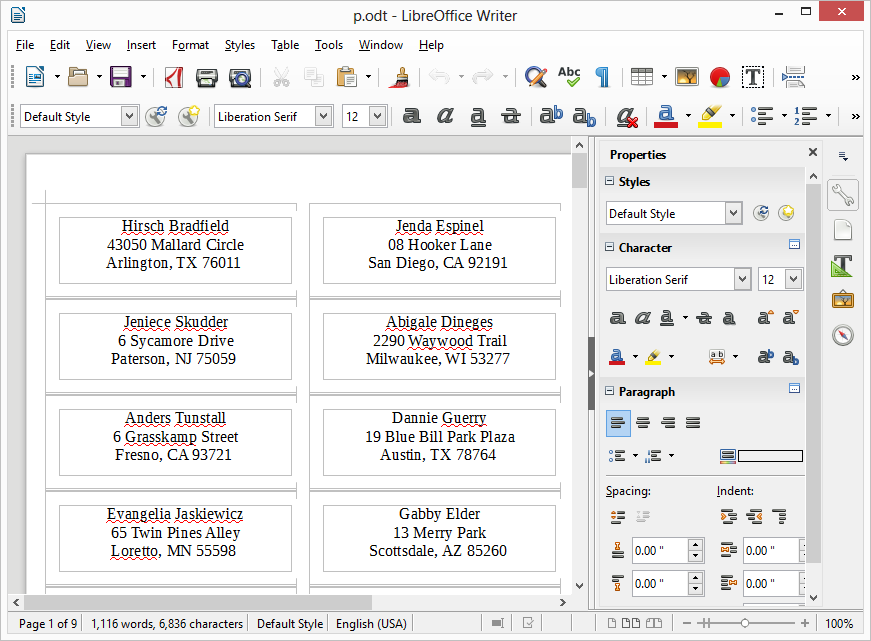
Open p.odt to view and print the mail-merged address labels.
-
To clean up afterwards:
- Delete the temporary work files and temp desktop folder created earlier
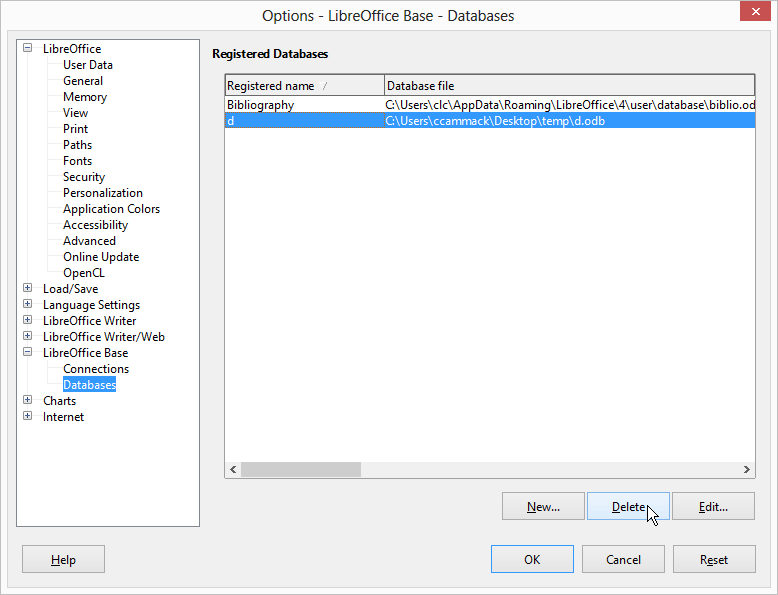
- Unregister the temporary database created earlier by opening Tools>Options…>LibreOffice Base>Databases, selecting the Registered Database created ealier (d) and pressing the Delete button